Making a Keychain
Today’s challenge
Design, export, and submit a small personalized keychain before the end of class. This is intentionally a quick first project: the goal is to learn the essential Tinkercad workflow and get a finished object into your hands as soon as possible.
Your keychain may use your name or initials, a symbol, an interest, an abstract pattern, or another school-appropriate idea.
Build requirements
- Keep it approximately 70 × 40 × 8 mm or smaller.
- Include a practical ring hole around 5 mm wide.
- Leave enough material around the hole so the loop will not snap.
- Make every component connect securely; no floating shapes.
- Use grouping, alignment, holes, and accurate sizing intentionally.
- Make it original and identifiable as yours.
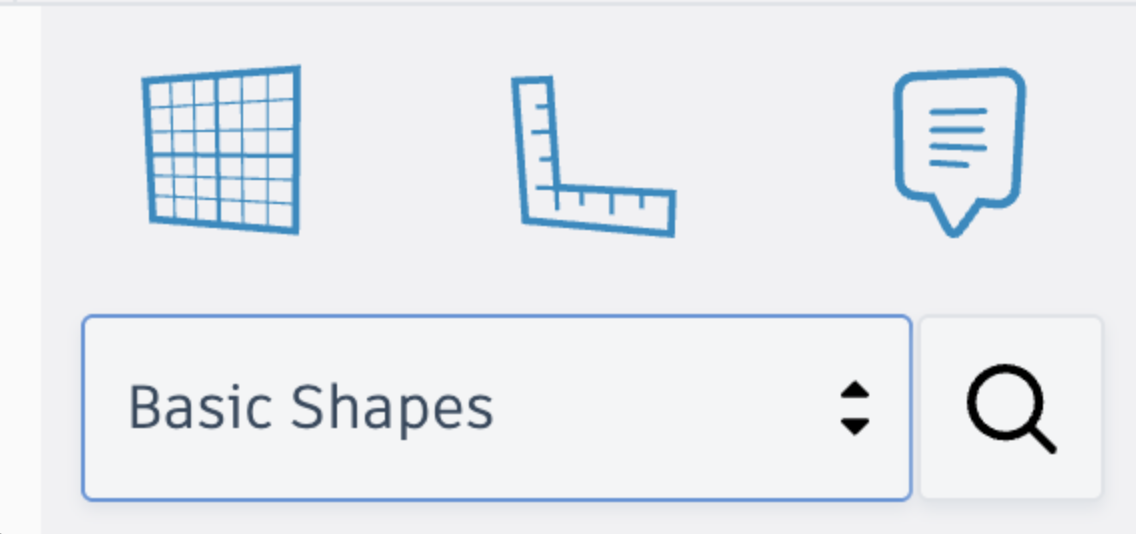
Letters and numbers are under Design Starters:
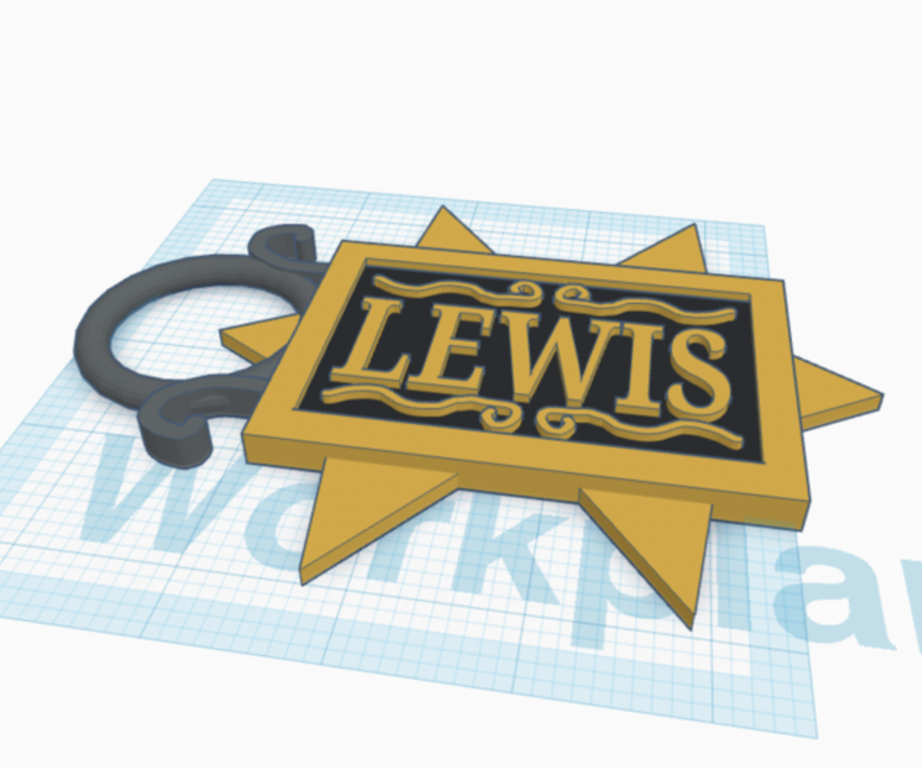
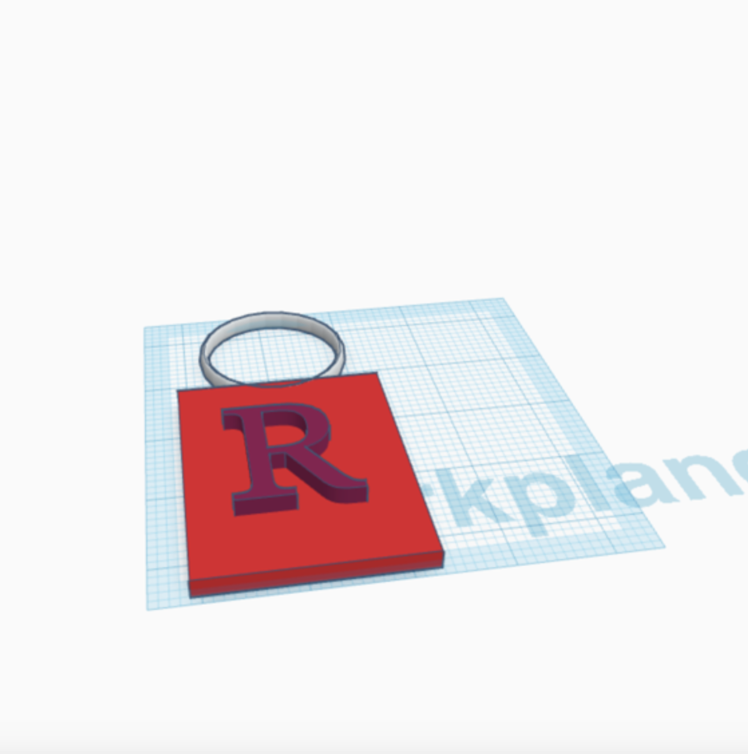
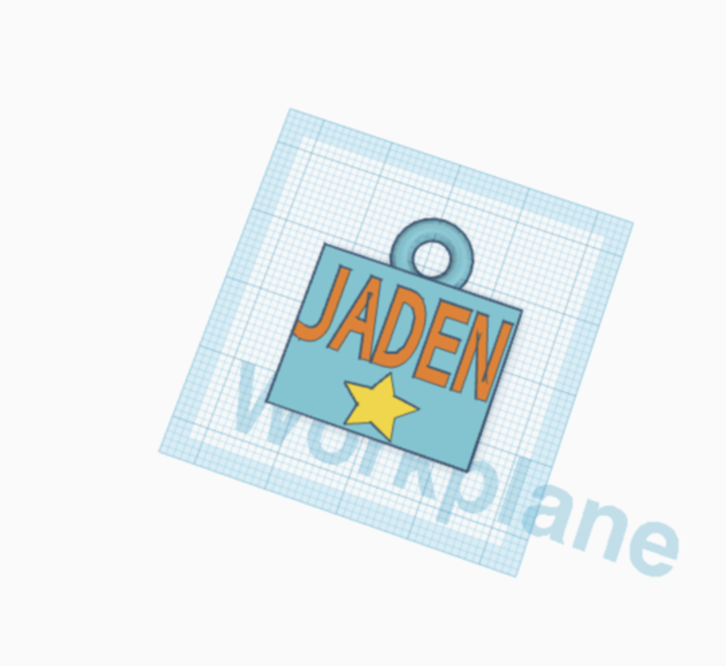
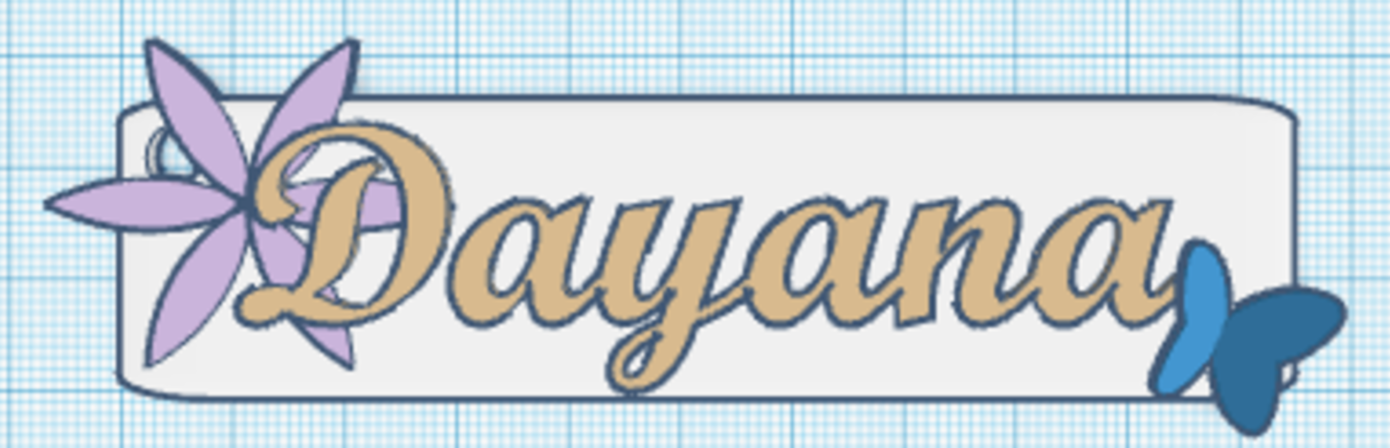
Examples
Use these for inspiration, not imitation:
Suggested pace
- Complete the essential Tinkercad tutorials.
- Choose an idea and begin building immediately.
- By the middle of class, have the complete basic shape visible.
- Use the final part of class to check the hole, connections, dimensions, and underside.
- Follow the submission instructions.
- Submit the 3D Print Request so this first object can enter the print queue.
If you finish early, improve one aspect of the design or begin reading 3D Printing Principles and Rules.
Before submitting
- The design is original and personally meaningful.
- The key-ring hole is usable and strong.
- Every part is connected.
- The object is realistically printable.
- You captured a final screenshot.
- You exported and uploaded the STL file.
- You submitted the 3D Print Request.
- You answered today’s Notion reflection question.
Curriculum connections
A1.2: Apply technological concepts while developing a project.
A2.4: Select and use tools appropriately.
A2.6: Create and document a product using appropriate terminology.